HamroClass

HamroClass, an Education theme by themecentury, is a responsive WordPress theme for university, school, college or other educational institutions. Along with educational institutions, HamroClass is flexible and loaded with several features to also cater to the needs of design agencies, corporate websites and small businesses.

1 Getting Started

This is the HamroClass theme documentation page. We have tried our best to provide proper, simple and clear instruction. If you think it can be improved, please let us know. We will update as per your feedback too.

Please click on the left sidebar’s title to navigate the section.

2 Installation

Installation of our theme is quite easy and simple. You can follow two type of installation procedure. Either directly from WordPress repo panel or from uploading the theme zip file.

  1. Directly from WordPress repository:

If you want to install directly from WordPress repository, just navigate Appearance >> Theme menu from your website (WordPress admin dashboard) and on Add New button then type HamroClass on the search box. You will see our theme on below. Then just click on install and activate the theme. That’s it 🙂

  1. Uploading zip file ( manual installation ):

Please go to wordpress.org/themes/hamroclass and download the theme zip file from there. Upload that zip file into your website from Appearance>>Theme>>Add New>>Upload Theme.

Additional information: WordPress Codex – Using Themes

3 Header Options

Appearance >> Customize >> Header Options – Panel

Website main header related section goes here.
Click to go related section description.

4 Header Media

Appearance >> Customize >> Header Options >> Header Media – Section

This section help to set header image to specific part of header. Please read following instruction to insert header image properly.

  • Header Video – Please click to select video area to “Add New video” to top of the website. This options simply allow to show video on top of the entire website and if you  want to add video of YouTube then just put the YouTube video link below.
  • Current Header – Please click to add new image button to “Add New Image”. This options simply allow to show image on header. But if you want to show image randomly than please insert more than one image. After adding multiple Image please check below button name “Randomize Uploaded Header”.

5 Notice Section

Appearance >> Customize >> Header Options >> Notice Section – Section

Notice section is the section which show specially  on header. This section also known as ticker section or latest news section.

  • Notice Options
    • Enable – If you checked on enable options notice will show on header section.
    • Disable – If you checked this options notice section will be hidden.
  • Notice Caption – Notice caption is the label of notice section.
  • Notice Height – Set height of notice section in number format(This number is accept as px default value is 35). Pro
  • ENABLE COLOR OPTIONS?: This options allow to set color to header notice specific color. By  default this switch box is disabled and when we switch to enable then color fields will be visible. Pro
    • Enable – If you want to set color on header notice then switch enable
    • Disable – If you don’t need header notice specific color then please switch to disable.
  • Notice caption text color: This option is help to set color to notice caption font color. Pro
  • Notice caption background color:  Change this color value to manage notice caption background color Pro
  • Notice text color: This options help you to change text color of scrolling notice. Pro
  • Notice background color: This options help you to change entire notice section background color. Pro

6 Top Sidemenu Area Pro

Appearance >> Customize >> Header Options >> Top Sidemenu Area – Section

If you add widget on this section then toggle icon will visible on top header. Just click on top header toggle icon to display added widgets.

  • Add a Widget: Click on Add a Widget button to visible available widgets there. Just select one of the available widget to display on top header.

7 Top Header

Appearance >> Customize >> Header Options >> Top Header – Section

This section is shown before the branding area(Top of the website). This section helps us to manage social icon and date time. Here are some settings available with description.

  • Top Header Section – This option allow to show and hide top header.
  • Current Date– This options help you to show and hide date on  top header(If you hide top header then current date will not shown)
  • Social Icon – This options allow to show/hide social media icon(If you hide top header then social section will not shown). If you want to add or remove social icon than go to Appearance >> Customize >> Additional Sections >> Social Icons. Click to go to section Social Icons
  • Sidemenu Title – Add your sidemenu title here to display on top header sidemanu area.(If you have empty Top SideMenu Area then this text will not visible.) Pro
  • Enable color settings?: This options allow to set color to top header specific color. By  default this switch box is disabled and when we switch to enable then field will be visible. Pro
    • Enable – If you want to set color on top header switch enable
    • Disable – If you don’t need top header specific color please switch to disable.
  • Top header date text color: This field set text color to the date section(if you enable date section on top header) Pro
  • Top Header Menu color: This options help you to change color of top menu color. Pro
  • Active menu color: This color options works for top header menu hover color and menu active color. Pro
  • Top header Background: This field set background color to the top header section. Pro

8 Office Details

Appearance >> Customize >> Header Options >> Office Details – Section

Fill all fields to show office details section to branding section area of header.

  • Call Support Label – This option allow to show call support label.
  • Phone Number – This option allow to show phone number text.
  • Email Support Label – This option allow to show email support label.
  • Official Email This option allow to show official email on office details section.
  • Location Label – This option allow to show location label.
  • Official Location – This option allow to show official location.
  • Map Location URL This option allow to link on official location.

9 Header Branding Area

Appearance >> Customize >> Header Options >> Header Branding Area – Section

If you add widget on this section then your widget will be visible on Header Branding Area.

  • Add a Widget: Click on Add a Widget button to visible available widgets there. Just select one of the available widget to display on header branding area.

10 Site Identity

Appearance >> Customize >> Header Options >> Site Identity – Section

This section is known as the branding area(After Top Header Section). This section helps us to manage website logo , Site Fav Icon, Site title and Tagline. Here are available settings with description.

  • Logo – From this option, you can change the logo of your website. Click on this logo area to insert logo for website.
  • Site Title – You can change the site title of your website from this text field. We can say this is the website name for SEO.
  • Tagline – You can change tagline of this site. Please put here website slogan or main features of your website.
  • Site Icon – Click on Select Site Icon if doesn’t exist. This icon is same like a logo which shows on browser tab icon. Site Icons are what you see in browser tabs, bookmark bars, and within the WordPress mobile apps.
  • Display on branding secton – This options have two switch box options. This options allow you to set office details or widgets section.
    • Office Details – This options allow to show office details. If you check this options please set value through Office Details section.
    • Widget Area– This options allow to add widget area on branding section. If you check this options then please add widget through Header Branding Area.
  • Branding Alignment – This options allow to manage branding left and center.

    • Left – If you check this options then branding alignment will be left and this is the default value.
    • Center – If you need center alignment of logo, office details or widget area then just check this as per your requirement.
  • Enable Branding – This options allow to show or hide branding section on header.

    • Enable – If you want to show branding section on header then just check on enable.( By default this value will be enable)
    • Disable – If you want to hide branding section from header then check on disable.
  • ENABLE COLOR OPTIONS – This options allow to set specific color for branding section(By default this options value will be disable). If you enable this then visible color options color override global color for branding section. Pro

    • Enable – If you want to set specific color for branding section then just enable it.(If you enable it then multiple color options will be visible below this option)
    • Disable – If you don’t want to set specific color for branding section then disable it.
  • Site title color? – You can change site title color from this color picker as per your requirement. Pro
  • Title Hover Color – This option allow to set hover color of site title. Pro
  • Site Description Text Color – If you want to change site description text color just pick color from color picker. Pro
  • Branding Background Color – This color options allow to set background color of branding section. Pro

12 Template Options

Appearance >> Customize >> Template Options – Panel

Website template related section like post, page, 404, search, archive etc goes here. If you want to change specific settings related template please follow the instructions below.

13 Homepage Settings

Appearance >> Customize >> Template Options  >> Homepage Settings – Section

If you want to set it up like our demo first you have to setup static home page.

Your can follow following step to setup static home page.

  1. Please go to Dashboard >> Pages >> add new page and set title name home and publish it.
  2. Then, please go to Appearance >> Customize >> Template Options >> Homepage Settings and check ( if unchecked ) A static page then from Homepage dropdown section please select your home page  and save it.
  3. After that Homepage template options checked Widgetize layout.(Default value is widgetize)
  4. Then, everything you need to do is save and check all widgets from Appearance >>Widgets and drag and drop those widgets into sidebars.

Structure of magazine Layout.

Header Media
Header Notice
Top Header
Logo Part Office Details / Header Ads (Widget Area)
Navigation
Top Home Area( Fullwidth -Widget Area)
Home Left Area ( Middle Part – Widget Area) Home Sidebar ( Middle Area – Widget Area)
Bottom Home Area(Fullwidth – Widget Area)
Top Footer 1st Column (Widget Area) Top Footer 2st Column (Widget Area) Top Footer 3st Column (Widget Area) Top Footer 4st Column (Widget Area)
Middle Footer 1st Column (Widget Area) Middle Footer 2st Column (Widget Area) Middle Footer 3st Column (Widget Area) Middle Footer 4st Column (Widget Area)
Footer Info(Copyright Section)

14 Post Options

Appearance >> Customize >> Template Options >> Post Options – Section

Post options cover post details page. Please check the field with descriptions about post settings.

  • Enable Breadcrumbs – This options allow to show/hide breadcrumbs to post details page. Enable to show breadcrumbs on post details page and disable it if you want to remove from post details page.
  • Available Sidebar – Available sidebar options to show sidebar layout. You can get certain image which show sidebar positioning on all single post.
    • Left Sidebar – This options allows to show sidebar on left side of all single post. To show sidebar on left side make sure you already added some widgets to Appearance >> Widgets >> Left Sidebar Widget area. If you have empty Left Sidebar widget area you can get empty space on Left Sidebar.
    • Right Sidebar – This options allows to show sidebar on right side of all single post. To show sidebar on right side make sure you already added some widgets to Appearance >> Widgets >> Right Sidebar Widget area. If you have empty sidebar widget area you can get empty space on right sidebar.
    • No Sidebar(Full Width) – This options allow to hide sidebar and main content show full width of all single post.
    • No Sidebar(Centered) – This options allow to hide sidebar and sidebar space will show on left and right side both and main content will show in center.
    • Both Sidebar – This options allow to show left and right sidebar both on post details page.
  • Show Featured Image – This options allow to show/hide featured image on post details page.
  • Show Categories – This options allow to show/hide categories on post details. If you checked on show button then post related categories will display on post details page.
  • Show date on post?  – This options allow to show/hide posted date of single post.
  • Show author name on post – This options allow to show author name near date and comments of the post. By default this options show after featured image.
  • Show Tag Name on post – If you checked show then single post related tags will display on your post.
  • Show before and after link of post – This option allow to display/hide link of previous and next post link.
  • Show author info on post – This options is related to display author information of this post.
    • Show– If we checked on Show author information will shown below post content to all single post.
    • Hide – If we checked on Hide author information will be hidden on all single post.
  • Enable Reactions – This options enable/disable reactions on single post. The reactions options will available on Appearance >> Customize >> Additional Sections >> Visitor Reactions. This reactions icons will display on single post. Pro
  • Related Post Options – This options help to manage related article on single post.
    • Show – If you check on show you can see related article after author information and before comment section(If single post have related articles on categories or tag)
    • Hide – If you checked on hide option Related Article Sections will be hidden on single post.
  • Related Post Section Title – Please enter the title text to show related articles heading on single post.
  • Related Post from? – This options help to manage related article by category or tag.
    • By Category – By category options allow to show post related to single post category. This means if we browse “hello world” post than our theme check “hello world” post category. If “hello world post have “uncategorized” category than related articles post will be “uncategorized” category post except “hello world” post.
    • By Tags – By Tags options allow to show post related to single post tags. This means if we browse “hello world” post than our theme check “hello world” post tags. If “hello world post have “abcd” tags than related articles post will be “abcd” tags post except “hello world” post.
  • Enable More Stories – Check enable to show more stories section from footer side when you scroll. Pro

15 Page Options

Appearance >> Customize >> Template Options >> Page Settings – Section

Page Settings cover page details(For developer it’s covered page.php). Please check the field with descriptions about page settings.

  • Enable Breadcrumbs – This options allow to show/hide breadcrumbs to page details. Enable to show breadcrumbs on page details and disable it. If you want to remove from page details.
  • Available Sidebar – Available sidebar options to show sidebar layout. You can get certain image which show sidebar positioning on all single pages.
    • Right Sidebar – This options allows to show sidebar on right side of all single pages. To show sidebar on right side make sure you already added some widgets to Appearance >> Widgets >> Right Sidebar Widget area. If you have empty sidebar widget area you can get empty space on right sidebar.
    • Left Sidebar – This options allows to show sidebar on left side of all single pages. To show sidebar on left side make sure you already added some widgets to Appearance >> Widgets >> Left Sidebar Widget area. If you have empty Left Sidebar widget area you can get empty space on Left Sidebar.
    • No Sidebar(Full Width) – This options allow to hide sidebar and main content show full width of all single pages.
    • No Sidebar(Centered) – This options allow to hide sidebar and sidebar space will show on left and right side both and main content will show in center.
    • Both Sidebar – This options allow to show left and right sidebar both on page details.
  • Featured Image – This options manage featured image on single page by default this options is checked to show.
    • Show – If you check on show you can see featured image on top of the page(If single page have featured image)
    • Hide – If you checked on hide option featured image will be hidden on single page.
  • Enable Reactions – This options enable/disable reactions on page details. The reactions options will available on Appearance >> Customize >> Additional Sections >> Visitor Reactions. This reactions icons will display on page details. Pro

16 Archive Options

Appearance >> Customize >> Template Options >> Archive Options – Section

Archive Options cover category, taxonomy page and date archive page(For Developer it’s covered archive.php). Please check the field with descriptions about archive settings.

  • Enable Breadcrumbs – This options allow to show/hide breadcrumbs to archive page. Enable to show breadcrumbs on archive page and disable it. If you want to remove from archive page.
  • Sidebar Layout – Available sidebar options to show sidebar layout. You can get certain image which show sidebar positioning on all archive pages.
    • Right Sidebar – This options allows to show sidebar on right side of archive pages. To show sidebar on right side make sure you already added some widgets to Appearance >> Widgets >> Sidebar Widget area. If you have empty sidebar widget area you can get empty space on right sidebar.
    • Left Sidebar – This options allows to show sidebar on left side of archive pages. To show sidebar on left side make sure you already added some widgets to Appearance >> Widgets >> Left Sidebar Widget area. If you have empty Left Sidebar widget area you can get empty space on Left Sidebar.
    • No Sidebar(Full Width) – This options allow to hide sidebar and main content show full width of all archive pages.
    • No Sidebar(Centered) – This options allow to hide sidebar and sidebar space will show on left and right side both and main content will show in center.
    • Both Sidebar – This options allow to show left and right sidebar both on page details.
  • Archive Page Layout – This options is related to display style of post content to archive pages.
    • Classic – If we checked on Classic Layout post will shown as list type. This means each post covered full content area.
    • Grid – If we checked on grid layout post will shown as column shown like the image.
    • List– If we checked on list layout post will shown as list shown like the image.
  • Readmore Text – Readmore text on archive page.
  • Description Length – Short descripton length of archive page(in character)
  • Show date on posts? – This options allow to show/hide date on posts of archive page. Check disable if you want to hide.
  • Show author name on posts – This options allow to show/hide author name on archive page.

17 Blog/Home Page

Appearance >> Customize >> Template Options >> Blog/Home page – Section

Note: Blog page means when you setup static pages and add a page on a blog or If you did not setup satic page than your home page will be shown on post listing.

Blog/Home page cover blog page(For Developer it’s covered index.php). Please check the field with descriptions about archive settings.

  • Enable Breadcrumbs – This options allow to show/hide breadcrumbs to blog/home page. Enable to show breadcrumbs on blog/home page and disable it. If you want to remove from blog/home page.
  • Sidebar Layout – Sidebar Layout options to show sidebar layout. You can get certain image which show sidebar positioning on all blog pages.
    • Right Sidebar – This options allows to show sidebar on right side of blog/home pages. To show sidebar on right side make sure you already added some widgets to Appearance >> Widgets >> Right Sidebar Widget area. If you have empty sidebar widget area you can get empty space on right sidebar.
    • Left Sidebar – This options allows to show sidebar on left side of archive pages. To show sidebar on left side make sure you already added some widgets to Appearance >> Widgets >> Left Sidebar Widget area. If you have empty Left Sidebar widget area you can get empty space on Left Sidebar.
    • No Sidebar(Full Width) – This options allow to hide sidebar and main content show full width of all archive pages.
    • No Sidebar(Centered) – This options allow to hide sidebar and sidebar space will show on left and right side both and main content will show in center.
    • Both Sidebar – This options allow to show left and right sidebar both on blog/home page.
  • Blog Layout – This options is related to display style of post content to home/blog pages.
    • Classic– If we checked on Classic Layout post will shown as list type. This means each post covered full content area.
    • Grid – If we checked on column layout post will shown as column shown like image.
    • List– If we checked on list layout post will shown as list shown like the image.
  • Readmore Text – Readmore text on blog/home page.
  • Description Length – Short descripton length of blog/home page(in character)
  • Show date on posts? – This options allow to show/hide date on posts of blog/home page. Check disable if you want to hide.
  • Show author name on posts – This options allow to show/hide author name on blog/home page.

18 Search Page

Appearance >> Customize >> Template Options >> Search Page – Section

This settings Search page similar to archive, blog/home page (For Developer it’s covered search.php). Please check the field with descriptions about Search page.

  • Enable Breadcrumbs – This options allow to show/hide breadcrumbs to search page. Enable to show breadcrumbs on search page and disable it. If you want to remove from search page.
  • Sidebar Layout – Sidebar layout options to show sidebar layout. You can get certain image which show sidebar positioning on all search pages.
    • Right Sidebar – This options allows to show sidebar on right side of search pages. To show sidebar on right side make sure you already added some widgets to Appearance >> Widgets >> Right Sidebar Widget area. If you have empty sidebar widget area you can get empty space on right sidebar.
    • Left Sidebar – This options allows to show sidebar on left side of search pages. To show sidebar on left side make sure you already added some widgets to Appearance >> Widgets >> Left Sidebar Widget area. If you have empty Left Sidebar widget area you can get empty space on Left Sidebar.
    • No Sidebar(Full Width) – This options allow to hide sidebar and main content show full width of all search pages.
    • No Sidebar(Centered) – This options allow to hide sidebar and sidebar space will show on left and right side both and main content will show in center.
    • Both Sidebar – This options allow to show left and right sidebar both on search page.
  • Search Layout – This options is related to display style of post content to archive pages.
    • Classic – If we checked on Classic Layout post will shown as list type. This means each post covered full content area.
    • Grid – If we checked on column layout post will shown as column shown like image.
    • List– If we checked on list layout post will shown as list shown like the image.
  • Readmore Text – Readmore text on search page.
  • Description Length – Short descripton length of search page(in character)
  • Show date on posts? – This options allow to show/hide date on posts of search page. Check disable if you want to hide.
  • Show author name on posts – This options allow to show/hide author name on search page.

19 404 Page

Appearance >> Customize >> Template Options >> 404 Page – Section

404 page settings cover page not found page(For Developer it’s covered 404.php). Please check the field with descriptions about 404 page settings.

  • Enable Breadcrumbs – This options allow to show/hide breadcrumbs to 404 page. Enable to show breadcrumbs on 404 page and disable it. If you want to remove from 404 page.
  • Sidebar Layout – Available sidebar options to show sidebar layout. You can get certain image which show sidebar positioning on all 404 pages.
    • Right Sidebar – This options allows to show sidebar on right side of 404 pages. To show sidebar on right side make sure you already added some widgets to Appearance >> Widgets >> Right Sidebar Widget area. If you have empty sidebar widget area you can get empty space on right sidebar.
    • Left Sidebar – This options allows to show sidebar on left side of 404 pages. To show sidebar on left side make sure you already added some widgets to Appearance >> Widgets >> Left Sidebar Widget area. If you have empty Left Sidebar widget area you can get empty space on Left Sidebar.
    • No Sidebar(Full Width) – This options allow to hide sidebar and main content show full width of all 404 pages.
    • No Sidebar(Centered) – This options allow to hide sidebar and sidebar space will show on left and right side both and main content will show in center.
    • Both Sidebar – This options allow to show left and right sidebar both on 404 page.
  • 404 Page Title – This options help you to setup page not found section title on frontend.
  • 404 Page Description – This options help you to setup page not found section description

20 Coming Soon Page(Page Template) Pro

Appearance >> Customize >> Template Options >> Coming Soon – Section

Coming Soon page Settings cover coming soon page templates. Please check the field with descriptions about coming soon page settings.

  • Featured Image Background? – This options allow to manage featured image to show background.
    • None:  This options makes featured image hidden
    • FULL: This options makes featured image background entire website.
    • Content: This options makes featured image background to coming soon section only.
  • Enable Breadcrumbs – This options allow to show/hide breadcrumbs to coming soon page. Enable to show breadcrumbs on coming soon page and disable it If you want to remove from this page.
  • Sidebar Layout – Available sidebar options to show sidebar layout. You can get certain image which show sidebar positioning on all archive pages.
    • Right Sidebar – This options allows to show sidebar on right side of archive pages. To show sidebar on right side make sure you already added some widgets to Appearance >> Widgets >> Right Sidebar Widget area. If you have empty sidebar widget area you can get empty space on right sidebar.
    • Left Sidebar – This options allows to show sidebar on left side of archive pages. To show sidebar on left side make sure you already added some widgets to Appearance >> Widgets >> Left Sidebar Widget area. If you have empty Left Sidebar widget area you can get empty space on Left Sidebar.
    • No Sidebar(Full Width) – This options allow to hide sidebar and main content show full width of all archive pages.
    • No Sidebar(Centered) – This options allow to hide sidebar and sidebar space will show on left and right side both and main content will show in center.
    • Both Sidebar – This options allow to show left and right sidebar both on Coming Soon page.
  • Enable Timer – This options manage timer circle block to coming soon page. If you check enable then coming soon page template show timer circle block with days, hour, minutes and second.
  • Coming Soon Date – This options helps to show date difference from current date.
  • Coming Soon Time – This options help to show circle block time.
    • Example: If you have following value on the field then
      • Coming soon date is: 01/26/2019
      • Coming Soon time is 08:00:00am
      • Current Date and time is 01/28/2019, 08:00:00am
        Coming soon page shows 4 blocks Days, Hour, Minutes and Seccond and value will be 2days, 0hour, 0 minutes, 0 seconds and seconds value will change on each second.

21 Homepage Section

Appearance >> Customize >> Additional Sections – Panel

Additional sections is related website other sections and those section may used in one or multiple places of website

Click to go related section description.

23 Main Services

Appearance >> Customize >> Homepage Sections >> Main Services – Section

This section have a repeater which allows to add service on service section below slider. You  can add multiple slide from this repeater. Here is the instructions.

  • – Please choose no of column of services.
  • Service Items – When you clicked on Add Service button there are multiple field will be added before Add Service button. Just fill these form details to show service on homepage service section.
    • Choose item – Choose specific page item from drop-down list item.
    • Font Color – Please choose font color of service item.
    • Background Color – You can choose background color from this color picker. This color is display background color of this service item.
    • Service Icon – Choose service icon for this service item.

24 Top Home Area (Full Width)

Appearance >> Customize >> Header Options >> Top Home Area(Full Width) – Section

If you add widget on this section then your widget will be visible on home page top widget area.

  • Add a Widget: Click on Add a Widget button to visible available widgets there. Just select one of the available widget to display on homepage top widget area.

25 Home Left Area (Middle Part)

Appearance >> Customize >> Homepage Sections >> Home Left Area(Middle Part) – Section

If you add widget on this section then your widget will be visible on homepage left widget area.

  • Add a Widget: Click on Add a Widget button to visible available widgets there. Just select one of the available widget to display on homepage left widget area.

26 Home Sidebar (Middle Part)

Appearance >> Customize >> Homepage Sections >> Home Sidebar(Middle Part) – Section

If you add widget on this section then your widget will be visible on home sidebar widget area.

  • Add a Widget: Click on Add a Widget button to visible available widgets there. Just select one of the available widget to display on homepage sidebar widget area.

27 Home Bottom Area

Appearance >> Customize >> Homepage Sections >> Home Bottom Area(Full Width) – Section

If you add widget on this section then your widget will be visible on home bottom widget area.

  • Add a Widget: Click on Add a Widget button to visible available widgets there. Just select one of the available widget to display on homepage bottom widget area.

28 Additional Sections

Appearance >> Customize >> Additional Sections – Panel

Additional sections is related website other sections and those section may used in one or multiple places of website

Click to go related section description.

29 Social Icons

Appearance >> Customize >> Additional Sections >> Social Icons – Section

This section have a repeater which allows to add social icons details. You  can add multiple icons from this repeater. Here is the instructions.

  • Add Icon – When you clicked on Add Icon button three field will be added before Add Icon button.
    • Social Media Icon – Click to add icon text choose social icon.
    • Social Icon URL – Please enter social media url like https://facebook.com
    • Social Icon Bacground – This options allow to set background color on social icon.

30 Visitor Reactions Pro

Appearance >> Customize >> Homepage Sections >> Visitor Reactions – Section

This section have a repeater which allows to add reactions on reactions section below the bottom of the page. You  can add multiple reaction icons from this repeater. Here is the instructions.

  • – Please choose no of column of services.
  • – Please choose reaction type from this drop-down. If you chose percentage then your reaction will be visible from percentage value and if you chose total value then your reactions will be visible of total no of visitor those who react on reactions icon.
  • Reaction Details – When you clicked on Add Reaction button there are two field will be added before Add Reaction button. Just fill these form details to show reaction on bottom of the page/post.
    • Reaction Icon – Choose reaction icon from visible icon.
    • Reaction Title – Please add your reaction label.(Like, Angry etc related to icon).

37 Courses Options Pro

Appearance >> Customize >> Courses Options >> Courses Settings – Section

From this option, you can change the course related settings. Please check the following instructions.

  • – This option allow to change course layouts.

38 Color Options

Appearance >> Customize >> Color Options – Panel

Color options are related website color for font, section, background etc and those color may used in one or multiple places of website

Click to go related section description.

39 Global Colors

Appearance >> Customize >> Color Options >> Global Colors – Section

From this option, you can change the primary, background and header text color of the website

  • Theme Color– This option allow to change website main color. We recommend you to change this color related to logo color(But if you want to change it different from logo color than free feel to change).
  • Header Text Color – This option allow to change Site Title and Tagline color on header branding part.
  • Background Color – This option set background to entire website background.(For Fronted Developer This color for body tag background)
  • Primary Color – This color options allow to set primary color for entire website. Pro
  • Enable More colors?: This options allow to set color to entire website which override global colors(Which we choose before this this form field). By  default this switch box is disabled and when we switch to enable then field will be visible. Pro
    • Enable – If you want to set color on footer main switch enable
    • Disable – If you don’t need footer main specific color please switch to disable.
  • Body tag color?: This color picker set the color for body tag. Which set default color for website. Pro
  • Link tag color?: This color picker options allow to set link tag color. Pro
  • Link tag hover color?: This options help you to set link tag hover color. Pro
  • Widget tabs color?: This options allow to set widget tabs color. Pro
  • Widget tabs Background: This options allow to set widget tabs color. Pro
  • Widget tabs border: This options allow to set widget tab border color. Pro
  • Widget title color: This options allow to set widget title color. Pro
  • Widget title background: This color picker allow to set widget title background color. Pro
  • Widget title border: This color picker allow to set widget title border color(If exist) Pro

40 Category Colors

Appearance >> Customize >>Global Colors >> Category Colors – Section

From this option, you can change the category color and category background. If you have just installed theme and you have only uncategorized Category than there is only Uncategorized Color and Uncategorized Background option will visible. If you have multiple category than there will show multiple color option. This color visible to their respective category buttons.

41 Theme Options

Appearance >> Customize >> Theme Options – Panel

Theme options are the settings which related global website related settings.

Click to go related section description.

  • Global Settings
  • Background Image
  • Preloader for Website
  • Image Settings
  • Widget Settings

42 Global Settings

Appearance >> Customize >> Theme Options >> Global Settings – Section

Global settings have website related settings which have box, full widh, sidebar width, content width etc. Please read docs for more info.

  • Site Layout: This options allow to set site layout to (box and full). By default this  option box  is checked on full width.
    • Full Width – Full width radio button allow to make website on full width.
    • Box Width – If you check on this radio button then this options will be show on box width. It means max width of website will be 1200px on default. You can change this value below.
  • Container Width – Please insert value of container width by default this value will be 1200px. This container value will be apply with box width also. Pro
  • Single sidebar width – This value is work when you choose single sidebar(left or Right Sidebar one at a time). The default value of single sidebar is 30% Pro
  • Both sidebar width – This value is work when you choose both sidebar. The default value of single sidebar is 20% Pro

43 Background Image

Appearance >> Customize >> Theme Options >> Background Image – Section

From this option you can set background image for website.

  • – This option allow to set background image for website.

44 Preloader for Website

Appearance >> Customize >> Theme Options >> Preloader for website – Section

From this option you can set preloader image for website.

  • – This option allow to set preloader image for website.

45 Image Settings

Appearance >> Customize >> Theme Options >> Preloader for website – Section

From this option you can change image related settings.

  • – Checked this to remove image src set.

46 Widget Settings

Appearance >> Customize >> Theme Options >> Widget Settings – Section

From this options you can change homepage related settings here.

  • Widget title layout.: This options allow to choose homepage widget title layout. By default this  option box  is checked on .
    • Layout One – If you checked this option then home page widget title will be left align like magazine type of layout.
    • Layout Two– If you checked this option then home page widget title will be center align like education type of layout.

48 Widgets

Appearance >> Customize >> Widgets – Panel

1. Left Sidebar – Widget Area

If you click on add widget then new widgets panel will be visible on right side. Just click on one widget to display added widgets and fill this widget form. This added widget display on left sidebar area on frontend.

2. Right Sidebar – Widget Area

If you click on add widget then new widgets panel will be visible on right side. Just click on one widget to display added widgets and fill this widget form. This added widget display on right sidebar area on frontend.

3. Footer 1 – Widget Area

If you click on add widget then new widgets panel will be visible on right side. Just click on one widget to display added widgets and fill this widget form. This added widget display on Footer first column on frontend.

4. Footer 2 – Widget Area

If you click on add widget then new widgets panel will be visible on right side. Just click on one widget to display added widgets and fill this widget form. This added widget display on Footer Second column on frontend.

5. Footer 3 – Widget Area

If you click on add widget then new widgets panel will be visible on right side. Just click on one widget to display added widgets and fill this widget form. This added widget display on Footer third column on frontend.

6. Footer 4 – Widget Area

If you click on add widget then new widgets panel will be visible on right side. Just click on one widget to display added widgets and fill this widget form. This added widget display on Footer fourth column on frontend.

7. Top Footer 1 – Widget Area Pro

If you click on add widget then new widgets panel will be visible on right side. Just click on one widget to display added widgets and fill this widget form. This added widget display on Top Footer first column on frontend.

8. Top Footer 2 – Widget Area Pro

If you click on add widget then new widgets panel will be visible on right side. Just click on one widget to display added widgets and fill this widget form. This added widget display on Top Footer Second column on frontend.

9. Top Footer 3 – Widget Area Pro

If you click on add widget then new widgets panel will be visible on right side. Just click on one widget to display added widgets and fill this widget form. This added widget display on Top Footer third column on frontend.

10. Top Footer 4 – Widget Area Pro

If you click on add widget then new widgets panel will be visible on right side. Just click on one widget to display added widgets and fill this widget form. This added widget display on Top Footer fourth column on frontend.

49 Widget Builder Pro

Please login to your website and go to your page or post. and click on Edit with Widget Builder. Now you can start use widget drag and drop builder to your website.

50 All Widgets

    1. HC – Author Info (Widget)
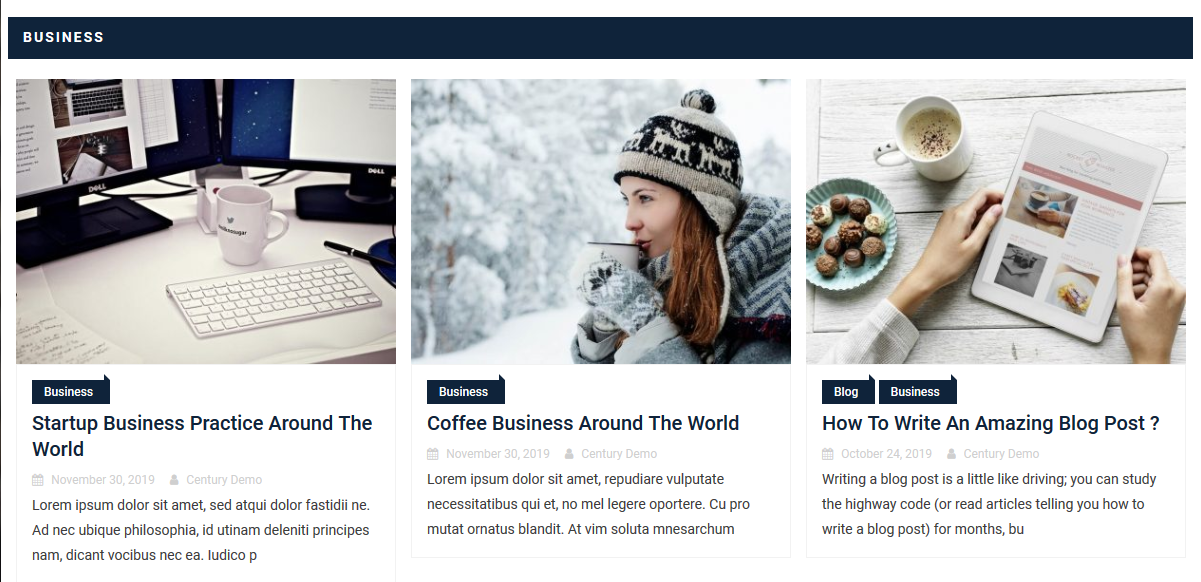
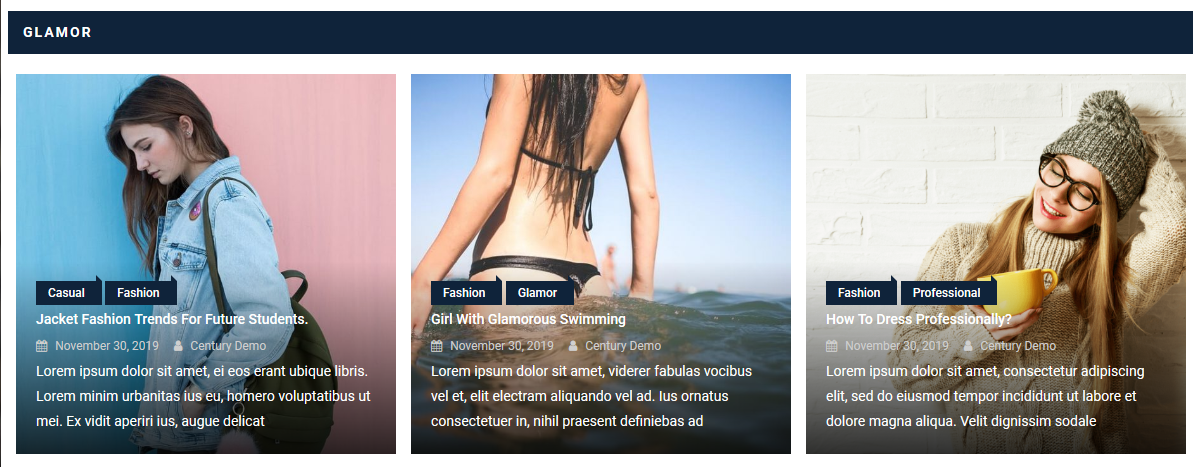
    2. HC – Block Posts (Widget)

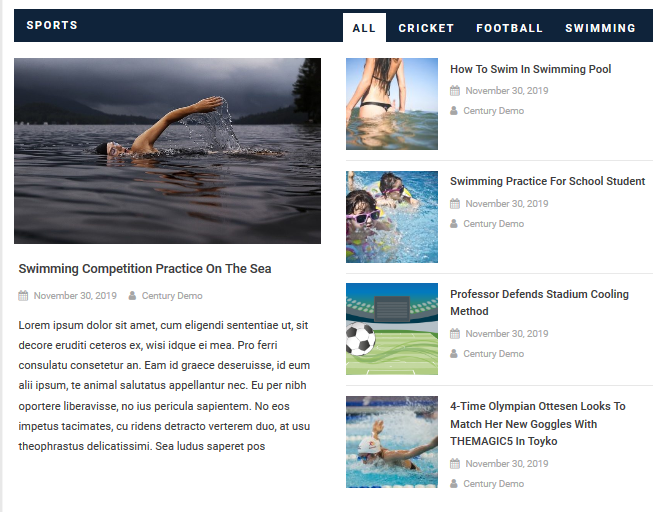
      Layout 1 (Left Big – Right List)
      Layout 2 (Two Big – List Bottom)
      Layout 3 ( Big Top – Three Small)

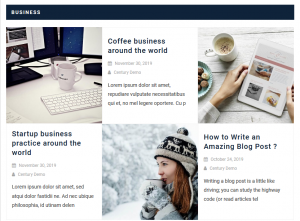
      Layout 4 (Alternative Grid)

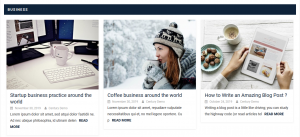
      Layout 5 (Blog Style)

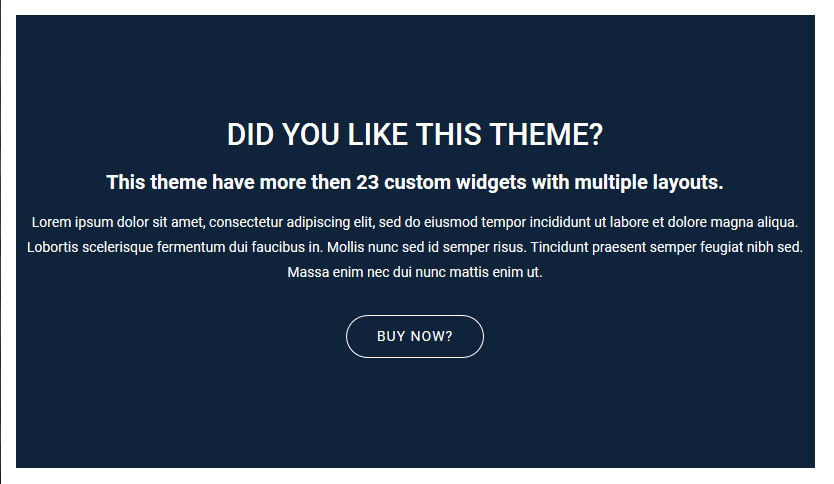
    3. HC – Call to Action (Widget)

      Layout One

      Layout Two

    4. HC – Category Tab Widget

    5. HC – Contact FORM

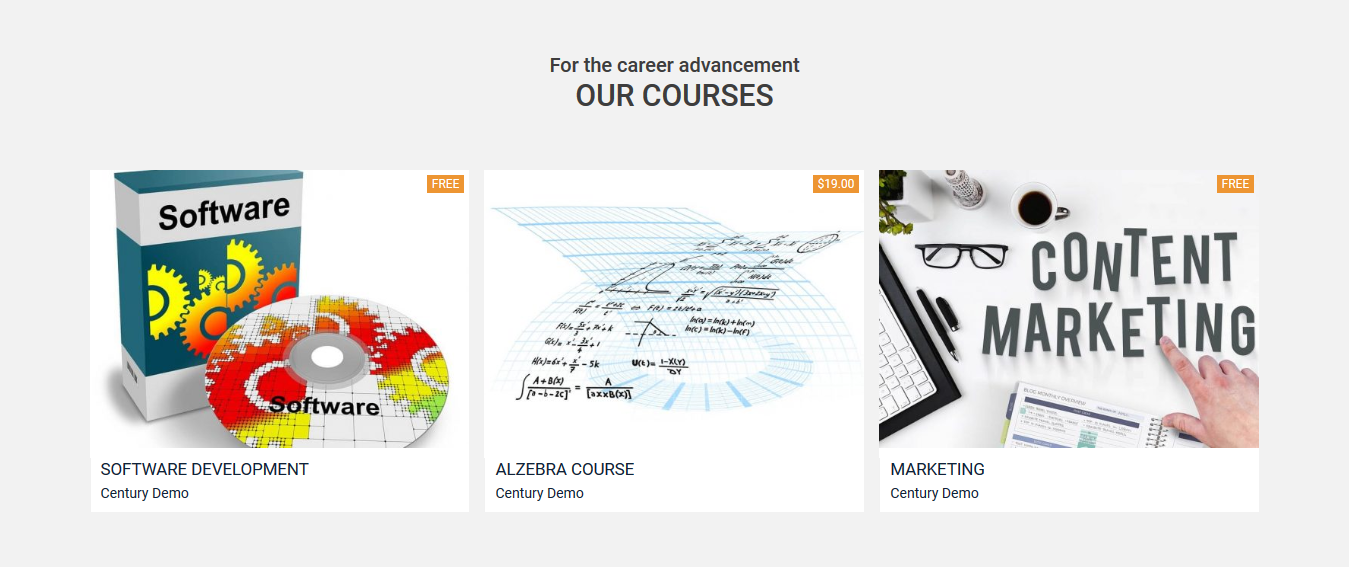
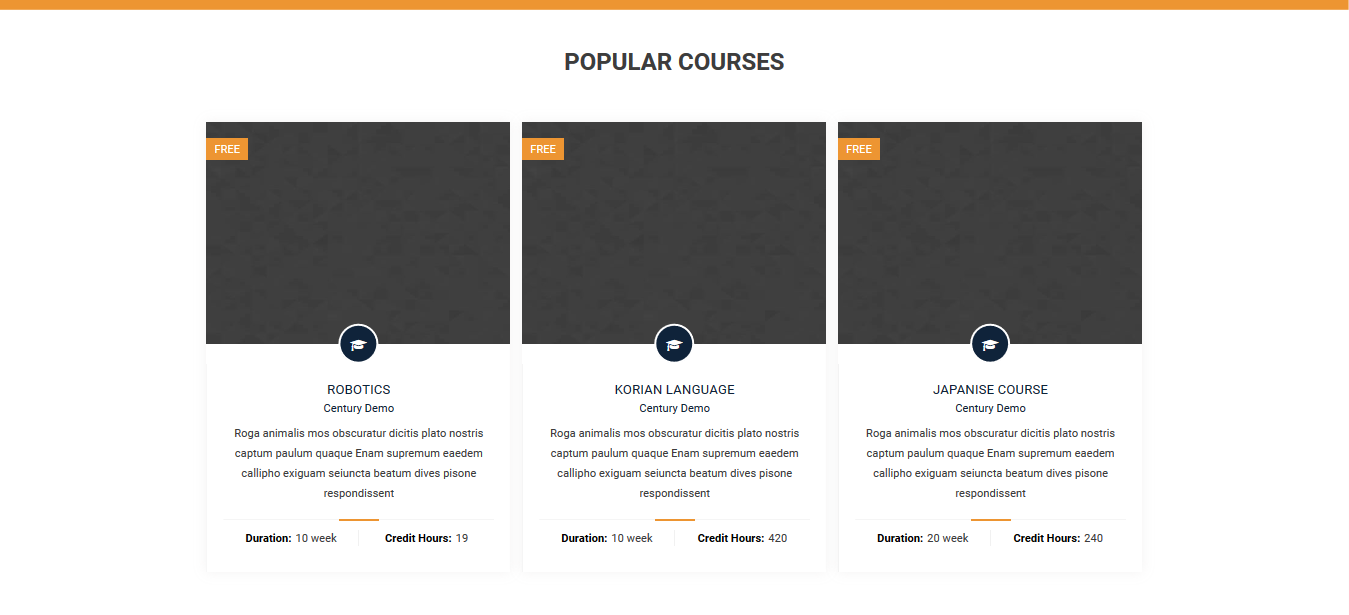
    6. HC – Course Listing (Widget)

      Layout 1

      Layout 2

    7. HC – Course Search (Widget)

    8. HC – Date and Time

    9. HC – Default Tabbed

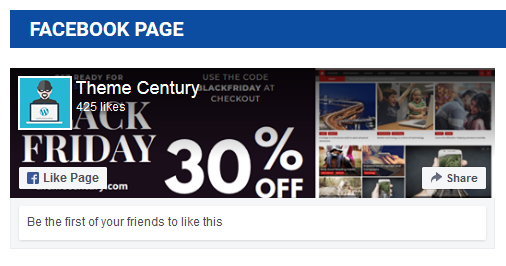
    10. HC – Facebook Timeline

    11. HC – Featured Posts

      Layout One
      Layout Two
    12. HC – Featured Slider

    13. HC – Instagram Image

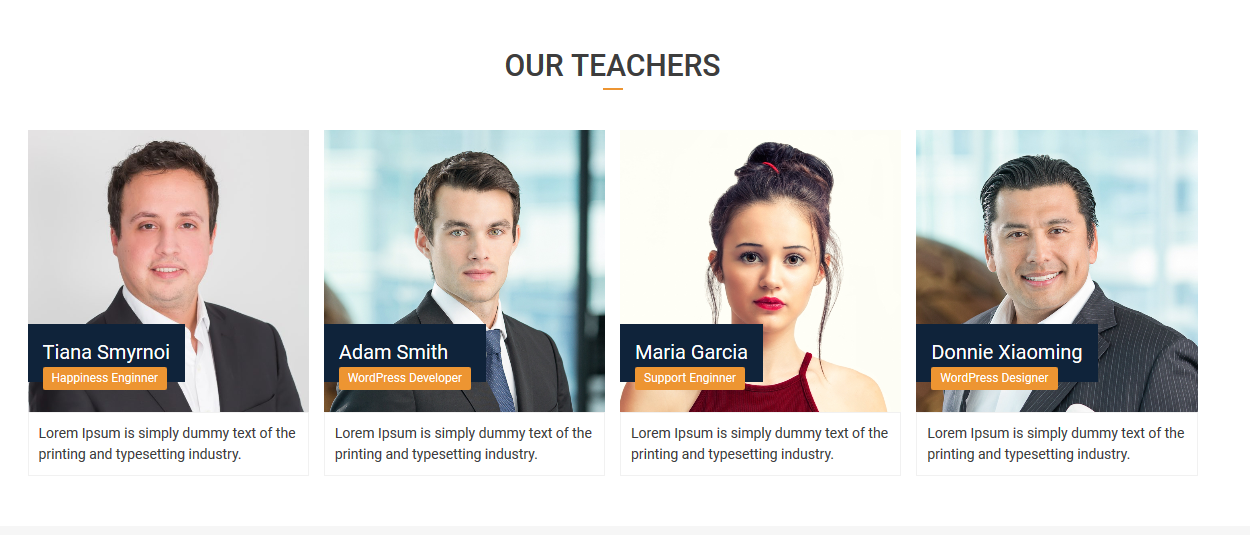
    14. HC – Our Team (Widget)

    15. HC – Page Block (Widget)

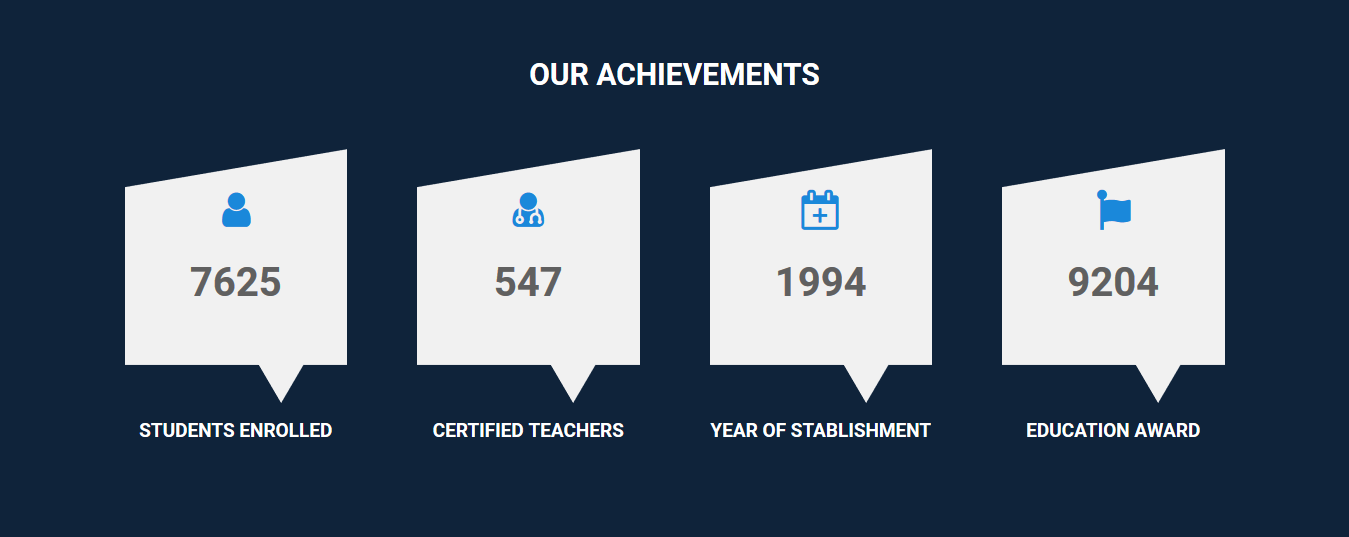
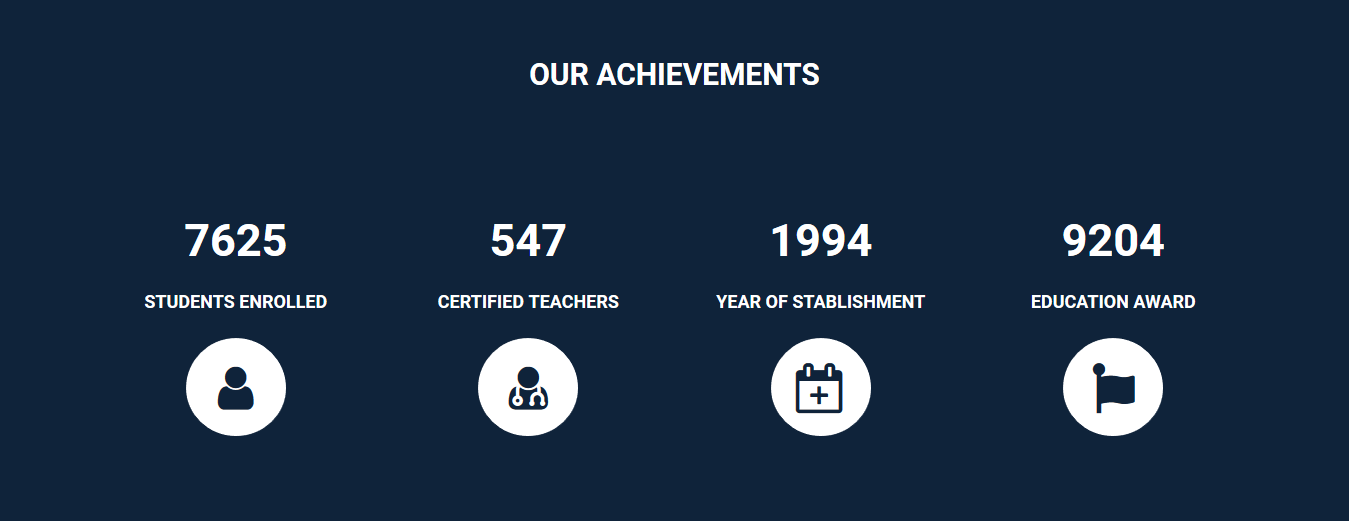
    16. HC – Roll Counter (Widget)

      Layout one
      Layout Two Layout Three

    17. HC – Site Carousel (Widget)

      Layout One
      Layout Two
    18. HC – Social Icons (Widget)

    19. HC – Testimonial Section (Widget)

    20. HC – Twitter Tweets

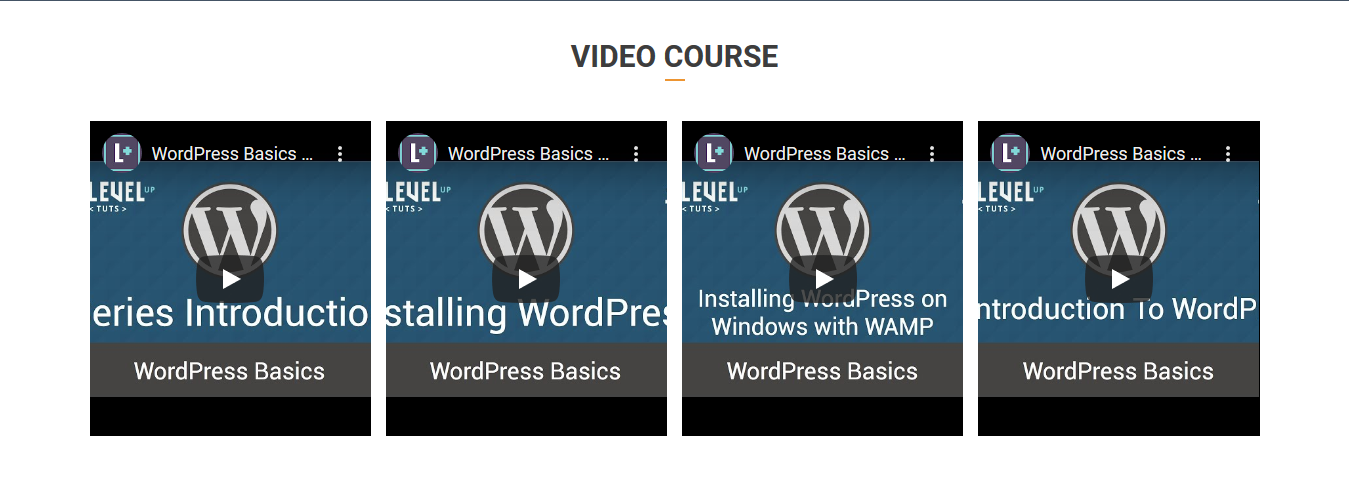
    21. HC – Video Block ( Widget)

    22. YouTube Playlist (Widget)