-
- HC – Author Info (Widget)
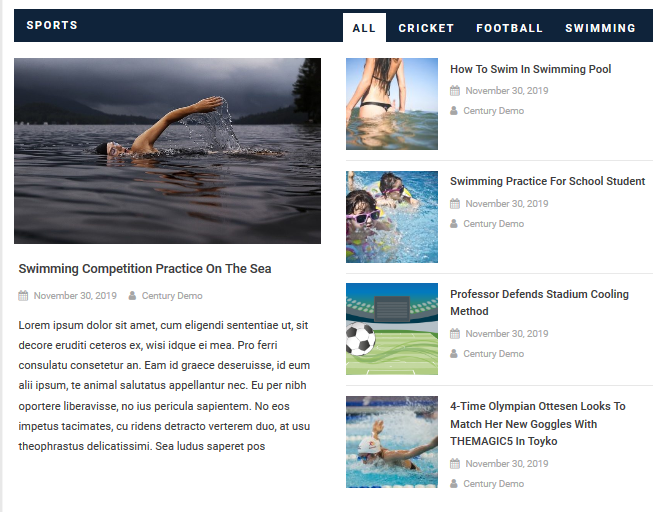
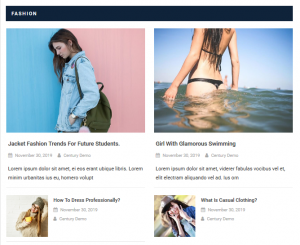
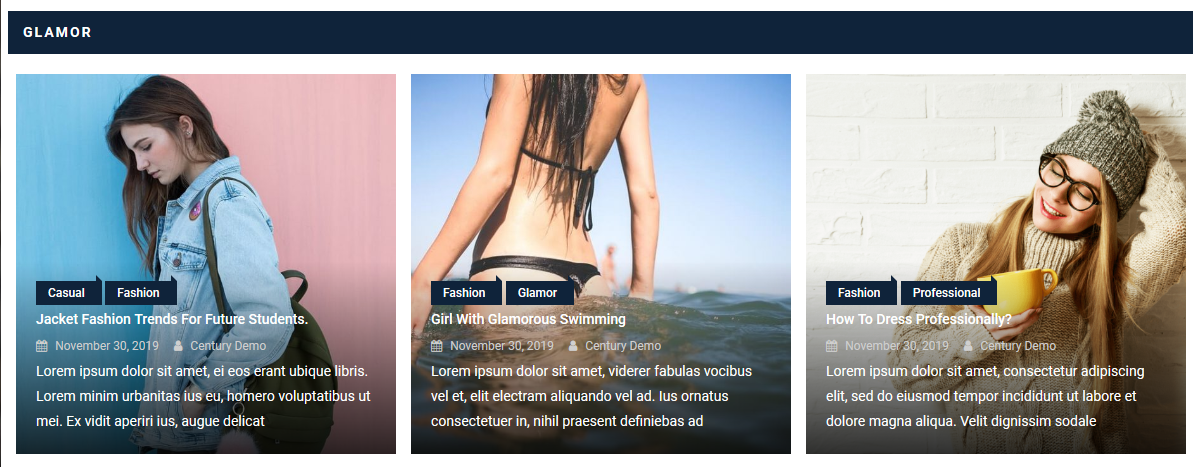
- HC – Block Posts (Widget)
Layout 1 (Left Big – Right List)
Layout 2 (Two Big – List Bottom)
Layout 3 ( Big Top – Three Small) 
Layout 4 (Alternative Grid) 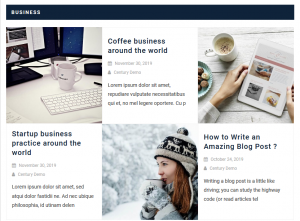
Layout 5 (Blog Style) 
-
HC – Call to Action (Widget)
Layout One 
Layout Two 
-
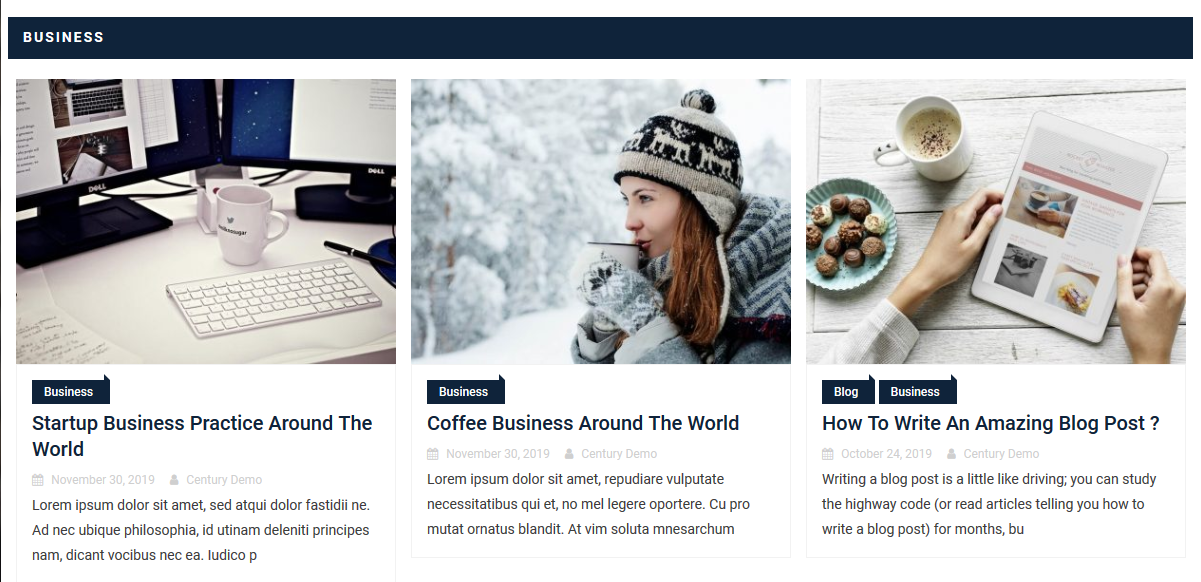
HC – Category Tab Widget
-
HC – Contact FORM

-
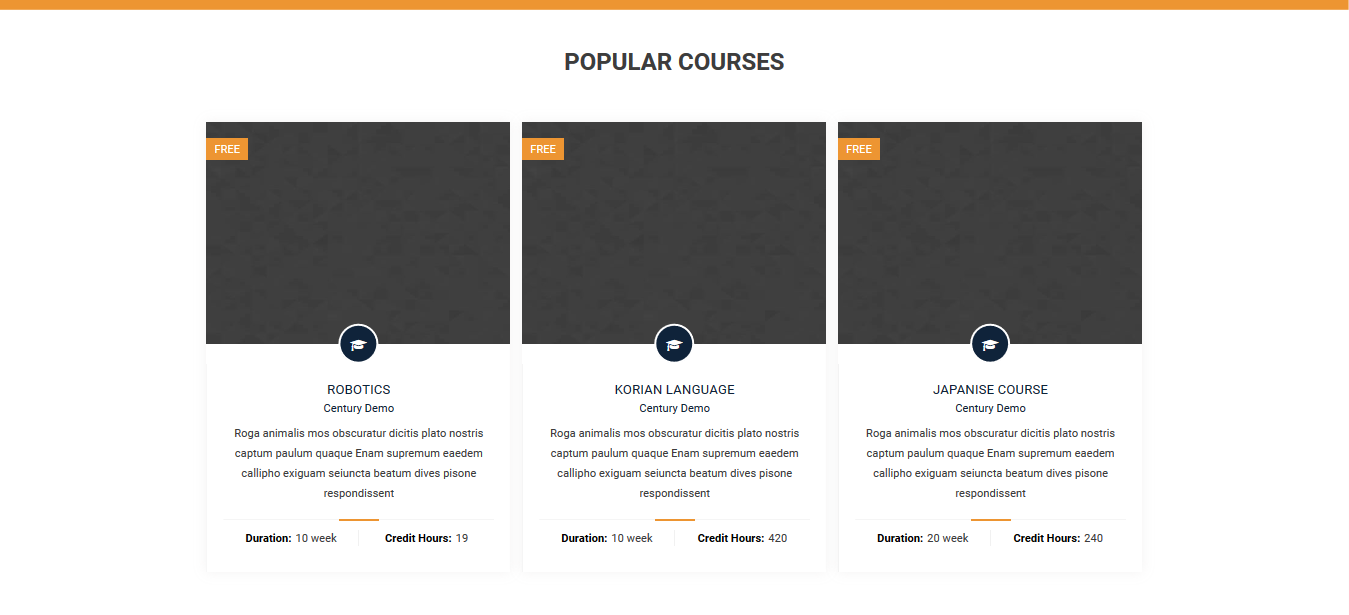
HC – Course Listing (Widget)
Layout 1
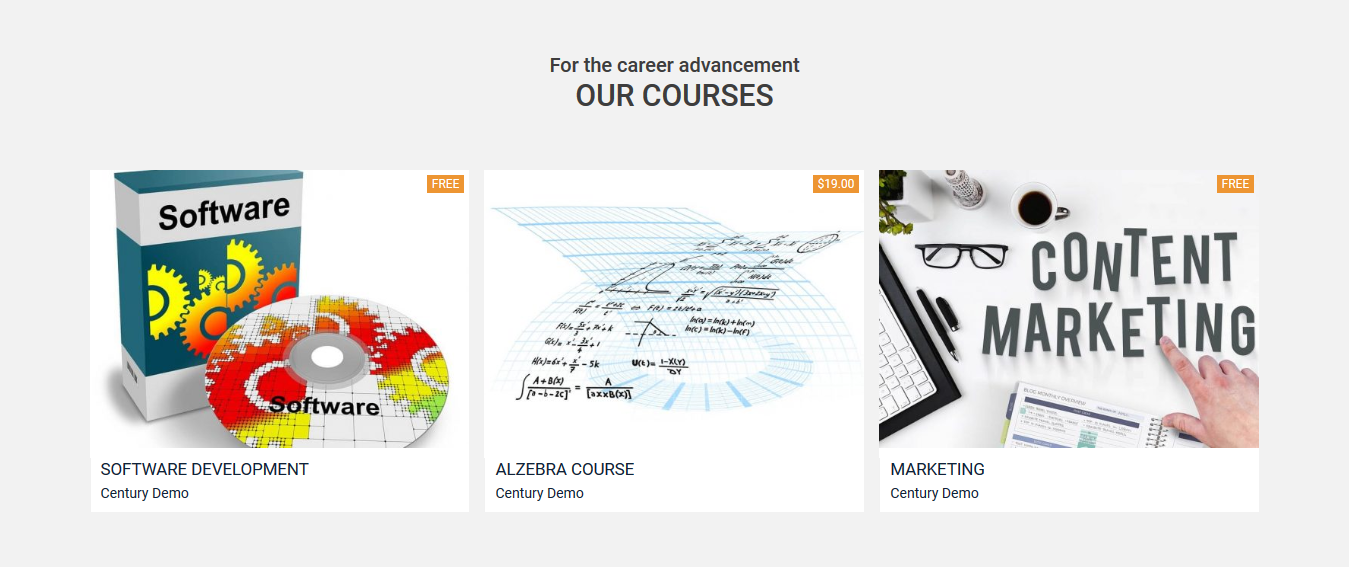
Layout 2
-
HC – Course Search (Widget)

-
HC – Date and Time

-
HC – Default Tabbed

-
HC – Facebook Timeline

-
HC – Featured Posts
Layout One

Layout Two
-
HC – Featured Slider

-
HC – Instagram Image
-
HC – Our Team (Widget)
-
HC – Page Block (Widget)
-
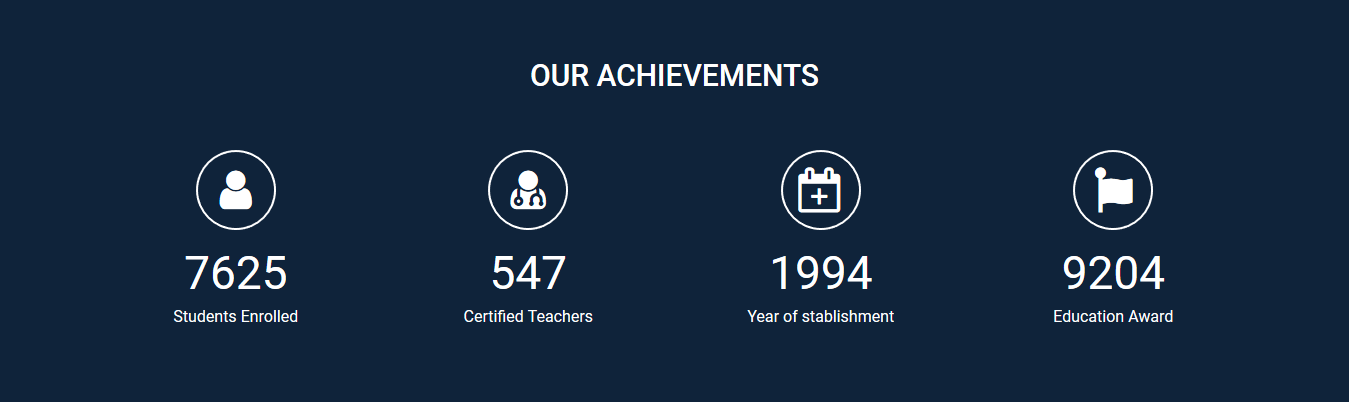
HC – Roll Counter (Widget)
Layout one
Layout Two 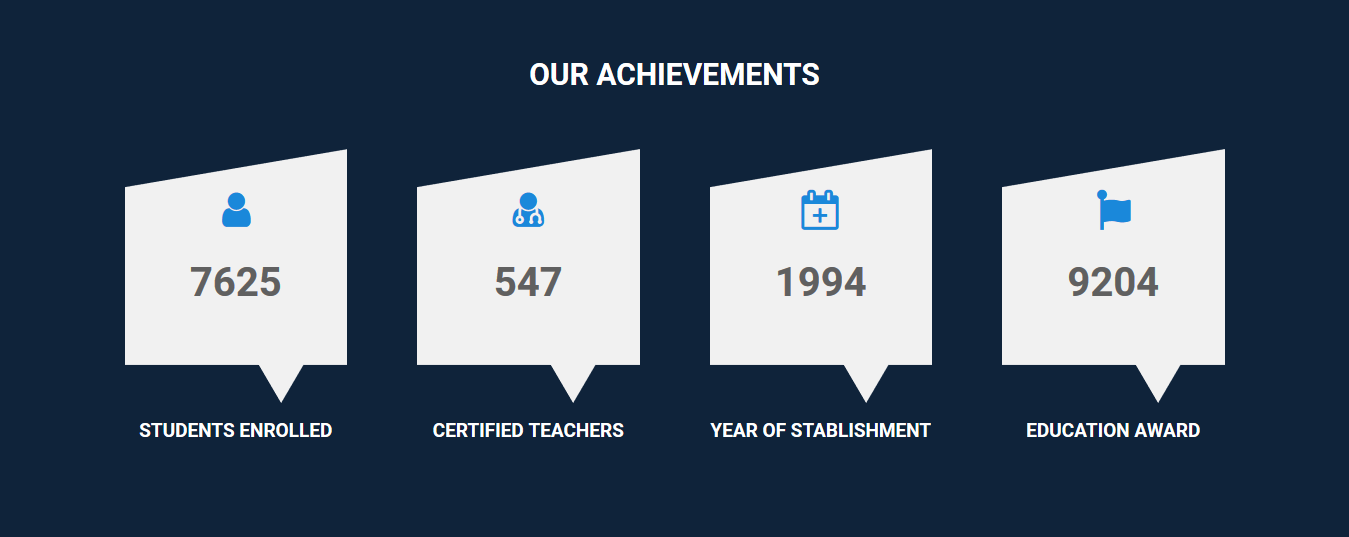
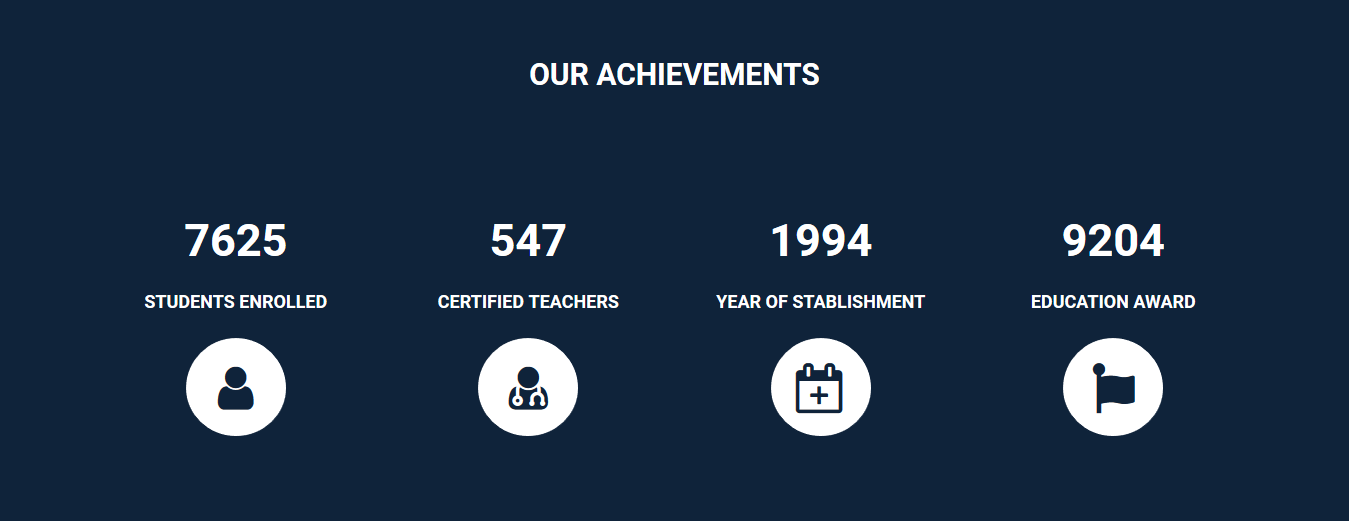
Layout Three
-
HC – Site Carousel (Widget)
Layout One
Layout Two
-
HC – Social Icons (Widget)

-
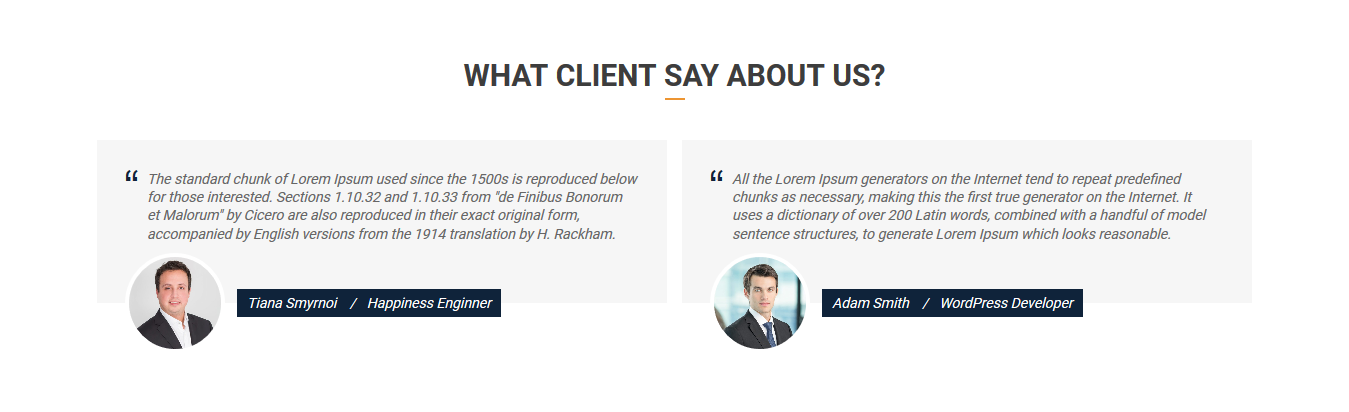
HC – Testimonial Section (Widget)
-
HC – Twitter Tweets
-
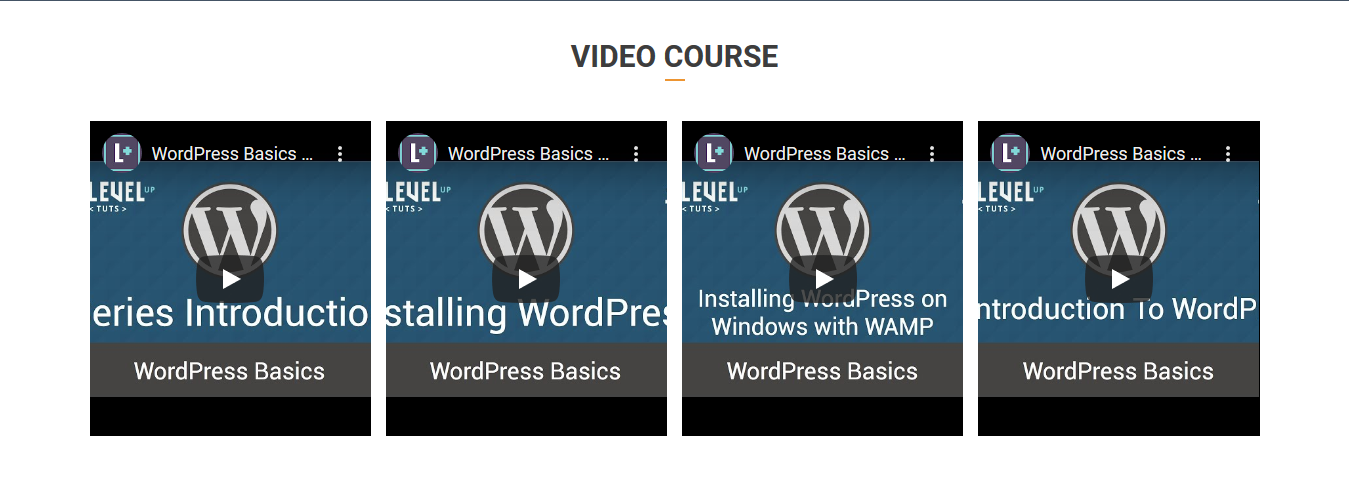
HC – Video Block ( Widget)

-
YouTube Playlist (Widget)
- HC – Author Info (Widget)
Menus
Appearance >> Customize >> Menus – Panel
Menu can able to show different location
We are able to show the menu with two ways. One from the widget and another from menu location. Here is the instructions to get the menu from menu location on frontend.
- Go to Appearance > Menus
- Click on Create a new menu Button
- Enter menu name at “Menu Name” field
- You can choose menu location there
- Primary Menu – If you check this option than menu will show on header main navigation.
- Top Header Menu – If you check this option than menu will show to the top header.
- Footer Menu – If you check this option than menu will show the bottom of footer near copyright section.
- Click Create Menu button
- Select the pages/posts/ categories and custom links tab from the left side Add Menu
- Click Save Menu after adding required pages, categories in the menu
From you can set different types of Menu Like Main Menu, Footer Menu So on …
Widgets
Appearance >> Customize >> Widgets – Panel
1. Left Sidebar – Widget Area
If you click on add widget then new widgets panel will be visible on right side. Just click on one widget to display added widgets and fill this widget form. This added widget display on left sidebar area on frontend.
2. Right Sidebar – Widget Area
If you click on add widget then new widgets panel will be visible on right side. Just click on one widget to display added widgets and fill this widget form. This added widget display on right sidebar area on frontend.
3. Footer 1 – Widget Area
If you click on add widget then new widgets panel will be visible on right side. Just click on one widget to display added widgets and fill this widget form. This added widget display on Footer first column on frontend.
4. Footer 2 – Widget Area
If you click on add widget then new widgets panel will be visible on right side. Just click on one widget to display added widgets and fill this widget form. This added widget display on Footer Second column on frontend.
5. Footer 3 – Widget Area
If you click on add widget then new widgets panel will be visible on right side. Just click on one widget to display added widgets and fill this widget form. This added widget display on Footer third column on frontend.
6. Footer 4 – Widget Area
If you click on add widget then new widgets panel will be visible on right side. Just click on one widget to display added widgets and fill this widget form. This added widget display on Footer fourth column on frontend.
7. Top Footer 1 – Widget Area Pro
If you click on add widget then new widgets panel will be visible on right side. Just click on one widget to display added widgets and fill this widget form. This added widget display on Top Footer first column on frontend.
8. Top Footer 2 – Widget Area Pro
If you click on add widget then new widgets panel will be visible on right side. Just click on one widget to display added widgets and fill this widget form. This added widget display on Top Footer Second column on frontend.
9. Top Footer 3 – Widget Area Pro
If you click on add widget then new widgets panel will be visible on right side. Just click on one widget to display added widgets and fill this widget form. This added widget display on Top Footer third column on frontend.
10. Top Footer 4 – Widget Area Pro
If you click on add widget then new widgets panel will be visible on right side. Just click on one widget to display added widgets and fill this widget form. This added widget display on Top Footer fourth column on frontend.
Widget Settings
Appearance >> Customize >> Theme Options >> Widget Settings – Section
From this options you can change homepage related settings here.
- Widget title layout.: This options allow to choose homepage widget title layout. By default this option box is checked on .
- Layout One – If you checked this option then home page widget title will be left align like magazine type of layout.
- Layout Two– If you checked this option then home page widget title will be center align like education type of layout.
Image Settings
Appearance >> Customize >> Theme Options >> Preloader for website – Section
From this option you can change image related settings.
- – Checked this to remove image src set.
Preloader for Website
Appearance >> Customize >> Theme Options >> Preloader for website – Section
From this option you can set preloader image for website.
- – This option allow to set preloader image for website.
Background Image
Appearance >> Customize >> Theme Options >> Background Image – Section
From this option you can set background image for website.
- – This option allow to set background image for website.
Global Settings
Appearance >> Customize >> Theme Options >> Global Settings – Section
Global settings have website related settings which have box, full widh, sidebar width, content width etc. Please read docs for more info.
- Site Layout: This options allow to set site layout to (box and full). By default this option box is checked on full width.
- Full Width – Full width radio button allow to make website on full width.
- Box Width – If you check on this radio button then this options will be show on box width. It means max width of website will be 1200px on default. You can change this value below.
- Container Width – Please insert value of container width by default this value will be 1200px. This container value will be apply with box width also. Pro
- Single sidebar width – This value is work when you choose single sidebar(left or Right Sidebar one at a time). The default value of single sidebar is 30% Pro
- Both sidebar width – This value is work when you choose both sidebar. The default value of single sidebar is 20% Pro
Theme Options
Appearance >> Customize >> Theme Options – Panel
Theme options are the settings which related global website related settings.
Click to go related section description.
- Global Settings
- Background Image
- Preloader for Website
- Image Settings
- Widget Settings
Category Colors
Appearance >> Customize >>Global Colors >> Category Colors – Section
From this option, you can change the category color and category background. If you have just installed theme and you have only uncategorized Category than there is only Uncategorized Color and Uncategorized Background option will visible. If you have multiple category than there will show multiple color option. This color visible to their respective category buttons.